


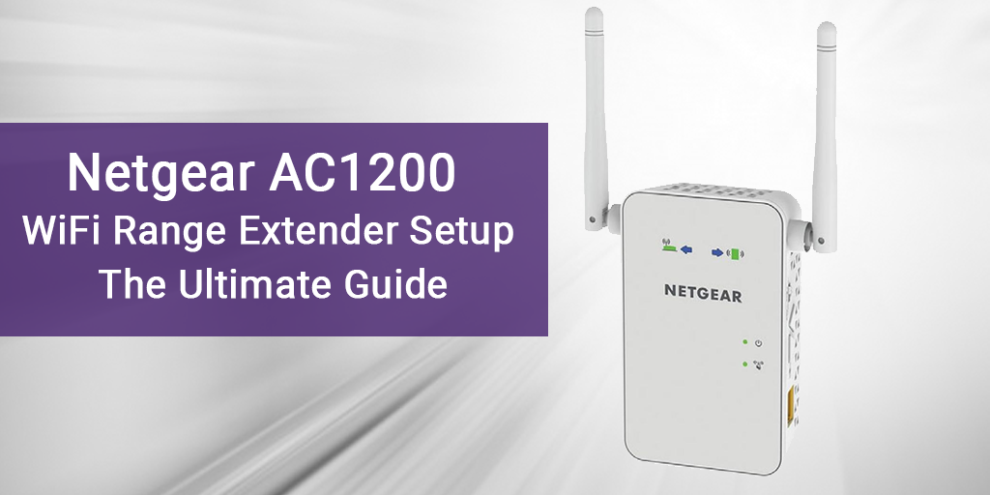
Get super high-speed internet connection with Netgear AC1200 WiFi range extender setup. With AC dual-band WiFi, Netgear AC1200 extender provides you with fast WiFi performance delivering up to 1200Mbps speed. It is compatible with almost all standard wireless routers. The device utilizes 2.4 GHz and 5 GHz frequency bands to connect with your current WiFi network and extend the signal to further distance.
This Netgear WiFi range extender creates a FastLane connection to your current router or WiFi modem. Unlike other regular WiFi extenders, this dedicated connectivity increases the existing internet speed and enhances the overall WiFi network performance.
So, now you are quite familiar with the Netgear AC1200 WiFi extender. Let’s proceed further with its setup process.
There are two main methods to perform Netgear AC1200 WiFi range extender setup: using the installation assistant and via the WPS push button. Both methods are discussed in brief below:
Netgear AC1200 Extender Setup Using Installation Assistant
Follow the instructions mentioned below to install your Netgear AC1200 wireless extender using the installation assistant:
- Firstly, place your extender in the same room as that of your existing router.
- Plug it into a power source and turn it on.
- On your PC or laptop, open the WiFi manager and connect to the extender’s network.
- Now, open a web browser of your choice.
- Head over to mywifiext.net web page.
- When prompted, fill in the username and password for login.
- In case you are getting the ‘password and username is incorrect’ error after multiple login attempts, contact our expert technicians via chat or email.
- Once done, the Netgear installation assistant will come into view.
- Walk through the on-screen steps and complete your Netgear AC1200 setup.
- Now, unplug the extender and place it to a new location in the home where you want. Make sure that the extender is placed at a certain distance away from radioactive devices such as microwaves, treadmills, washing machines, baby monitors, cordless phones, Bluetooth gadgets, and refrigerators.
Netgear AC1200 WiFi Range Extender Setup Using WPS Push Button
Found the above setup method a bit tricky for you? Worry not! We have another way for you. Use the WPS (WiFi Protected Setup) button for the Netgear AC1200 setup. Here’s how to set up Netgear AC1200 extender using WPS:
- Place your AC1200 extender to an optimal location and turn it on.
- Now, press the WPS button on it.
- You will notice that the WPS LED light starts blinking. It indicates that the extender is getting configured with the existing router.
- After some time, there will be three solid green lights on your extender. It shows that the configuration process between your extender and router has been completed.
- On the off chance that your router provides support for the 5 GHz band, repeat the aforementioned steps once to connect the extender to 5 GHz band.
- Once done, unplug the extender and place it anywhere in the home you like.
Congrats! Your Netgear AC1200 extender has been set up and installed properly. Connect all your WiFi-compatible devices to its network and enjoy uninterrupted internet connection throughout the home, even in the backyard.
Netgear Wifi Extender Setup Guide
The most important point that you need to take care of is the prerequisites for hassle-free Netgear WiFi extender setup via Netgear_ext. Here are the necessary requirements for Netgear range extender setup:
- Place your Netgear range extender in the same room as that of your home router.
- The extender should get the proper power supply.
- Next comes a workable home WiFi network.
- It is always recommended to have more than two web browsers installed on your PC or laptop. A situation may arise when you fail to log into new extender setup page due to the web browser issue. In this case, you can go with another browser.
So these were some essentials to bear in mind prior to setting up a new Netgear range ext. Now, let’s proceed further with the Netgear WiFi extender setup instructions. Continue reading.
Netgear Range Extender Setup using Netgear_ext SSID
You can install a Netgear range ext via two methods: Manual method and WPS method. Let’s discuss both the methods one-by-one and make you understand how to setup Netgear WiFi extender with ease.
Netgear Extender Setup: Manual Method
This method of Netgear WiFi extender setup is also known as web browser setup. Follow the instructions given below to know how to setup Netgear extender manually using Netgear_ext SSID.
- Turn on your Netgear range extender by plugging it into an electrical outlet.
- Connect the extender and your router.
- Launch the network manager and connect to Netgear_ext SSID.
- Open any web browser of your choice.
- Navigate to the default mywifiext login web page.
- Create an account if you don’t have already.
- Choose the network you want to extend.
- Click on the next button.
- At last, click on the finish button.
- Kudos! You have successfully completed the new extender setup process using Netgear_ext. Now, you are free to place your Netgear range extender anywhere you like. After that, connect your client devices to the Netgear_ext (SSID) to enjoy an uninterrupted internet connection throughout your home.
How to Setup Netgear WiFi Extender Using WPS Method
Setup Wifi Extender Netgear with wps – WiFi Protected Setup or WPS is the easiest way for Netgear range extender setup. All you have to do is just go through the below-given steps:
Netgear Extender Setup
- Firstly, make sure that the extender is powered on.
- Find the WPS button on your device and press it for some time.
- Push the WPS button given on the existing router.
- The LED light will turn solid green showing that the router has configured with the extender properly
- For dual-band range extender, repeat the same procedure.
- Finally, connect to the extender’s network and use the same passphrase as that of the network of your router.
- You can check the WiFi extender manual for the default username and password.
- Thus, your Netgear range ext has set up. Now, connect your WiFi devices to the extended Netgear_ext SSID and enjoy seamless internet connection all over the house or workplace.
In case you still can’t get success with Netgear range extender setup after reading the instructions given here, feel free to get in touch with our expert technicians. They will guide you with each and every step on how to setup Netgear extender.
Netgear Extender Manual Setup: Without Ethernet Port
Not all extenders are same! Some Netgear extenders don’t include an Ethernet port. Due to this, users get confused and asked something like this – How to setup Netgear extender manually as it is not having an Ethernet port. For some reason, my EX6200 is unable to do an Ethernet setup. Nighthawk login page never loads. What to do?
In case you are also having the same queries, we will tell you only one thing i.e. walk through the steps listed below and complete a new extender setup without Ethernet port in minutes. No more need to wait!
- Reset your extender to the default factory settings.
- Next, connect to the extender device using a WiFi connection.
- Log in to the web user interface of your device.
- Once done, you will be prompted to enter the username and your WiFi extender default password.
- After that, follow the steps of the installation wizard and establish a connection with your router.
- Lastly, connect your WiFi-compatible devices once again to the Netgear_ext (SSID).Thanks to Admin who allow me share this post.


Add Comment